ROS 1
Load local and remote ROS 1 (.bag) files, or connect directly to a live ROS 1 stack.
Live data
Install ROS 1, and make sure you are on the same network as the robot.
In Foxglove, select "Open connection" in the "Open data source" dialog.
Foxglove WebSocket
We recommend Foxglove WebSocket as the easiest way to get connected – especially if you have a network firewall between ROS and Foxglove, as it requires your ROS host to have only one port open.
This option requires running an extra ROS node (foxglove_bridge) – follow the installation directions here.
Connect
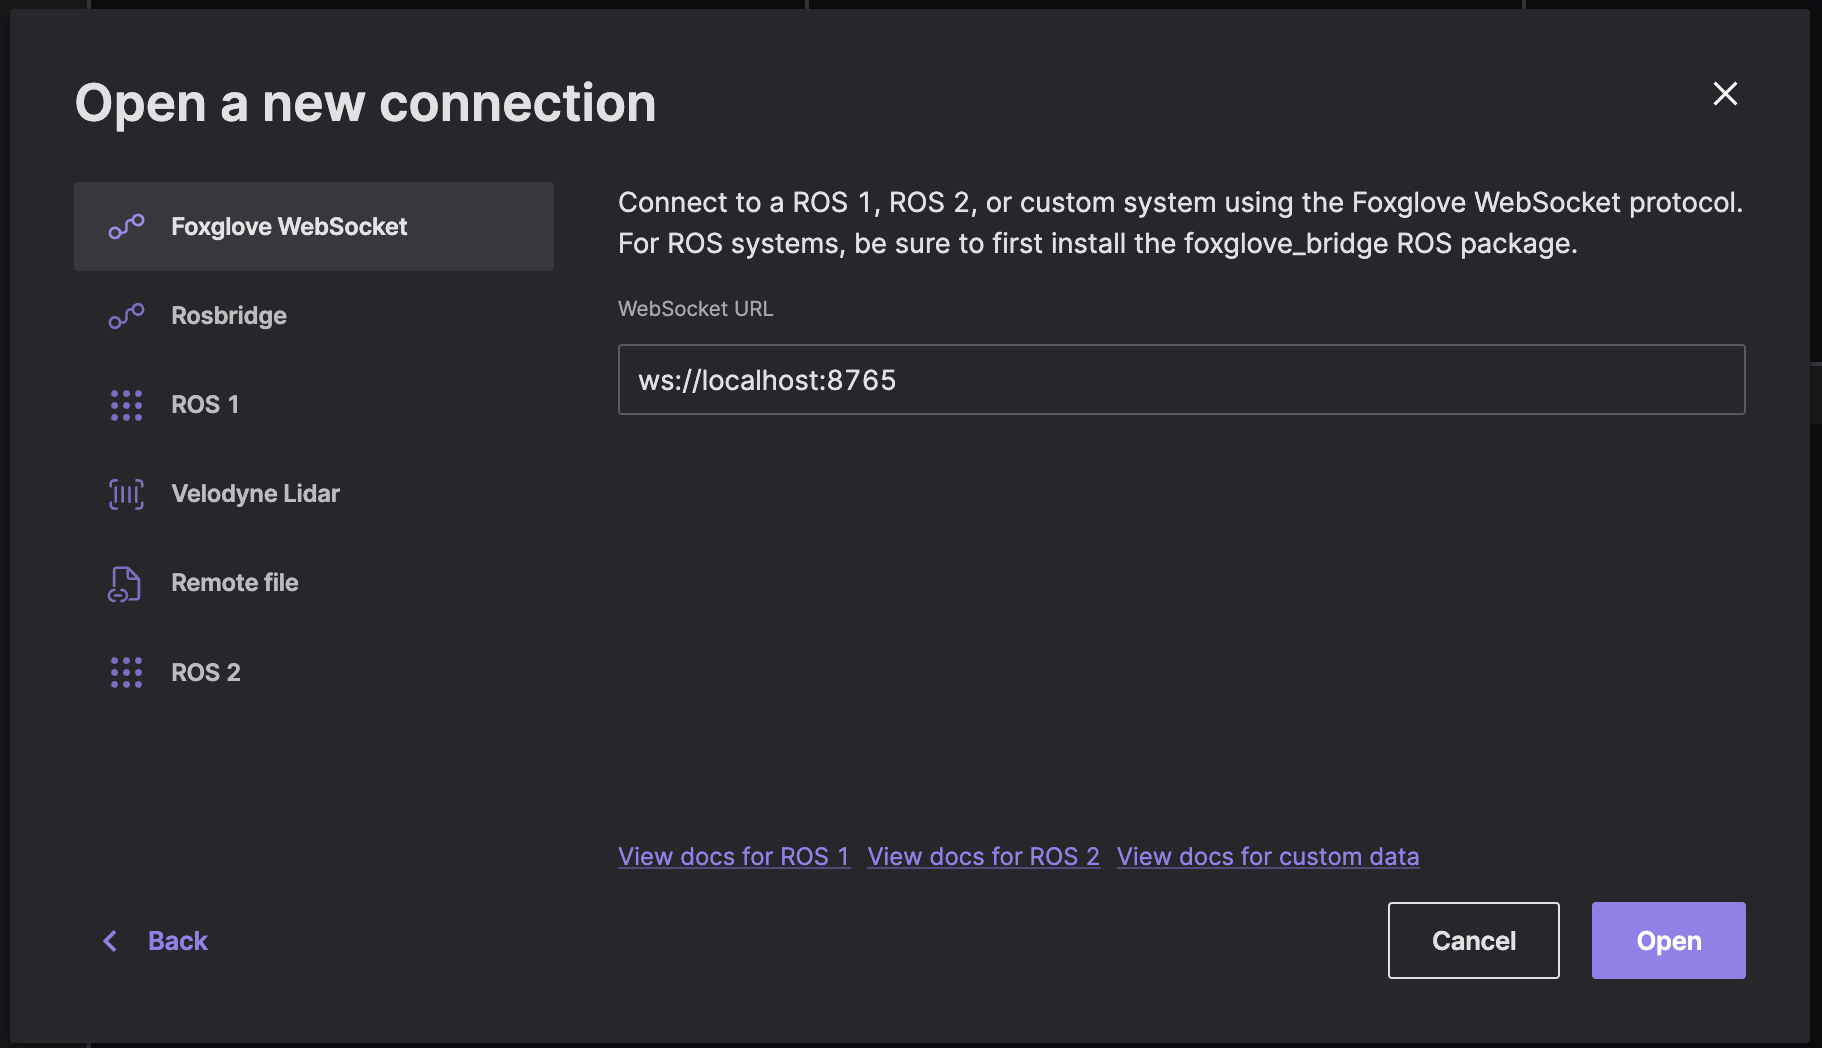
Select "Foxglove WebSocket" in the "Open data source" dialog, then enter the URL to your Foxglove bridge server:
Reset connection
To reconnect to a Foxglove WebSocket in a different context, you must first clear out your most recently visualized data in Foxglove.
To clear the state and reset your visualizations, resend the serverInfo message with an updated value for its optional sessionID field (string value). This lets the Foxglove WebSocket connection know that you are initiating a new connection, instead of trying to reconnect to a dropped one.
Limitations
Foxglove WebSocket connections support publishing back to your ROS stack, as well as reading and setting ROS parameters.
Rosbridge
NOTE: For performance reasons, we recommend using the Foxglove WebSocket connection instead.
Connect directly to your running ROS stack via WebSockets using a Rosbridge connection. This connection option requires only a single open port between Foxglove and your robot.
A rosbridge connection uses a standard protocol to connect Foxglove to your ROS master over WebSockets. While it does require running an extra ROS noderosbridge_server, we recommend this option if you have a network firewall between ROS and Foxglove, as it requires your ROS host to have only one port open.
To open a Rosbridge connection, make sure you’ve installedrosbridge-suite
$ sudo apt install ros-noetic-rosbridge-suite // ROS 1 Noetic
Next, start the WebSocket server, and review the command printout to determine the port it is listening on (e.g. ws://0.0.0.0:9090):
$ roslaunch rosbridge_server rosbridge_websocket.launch
"Open connection" in the "Open data source" dialog, select "Rosbridge", then enter the URL to your Rosbridge server:
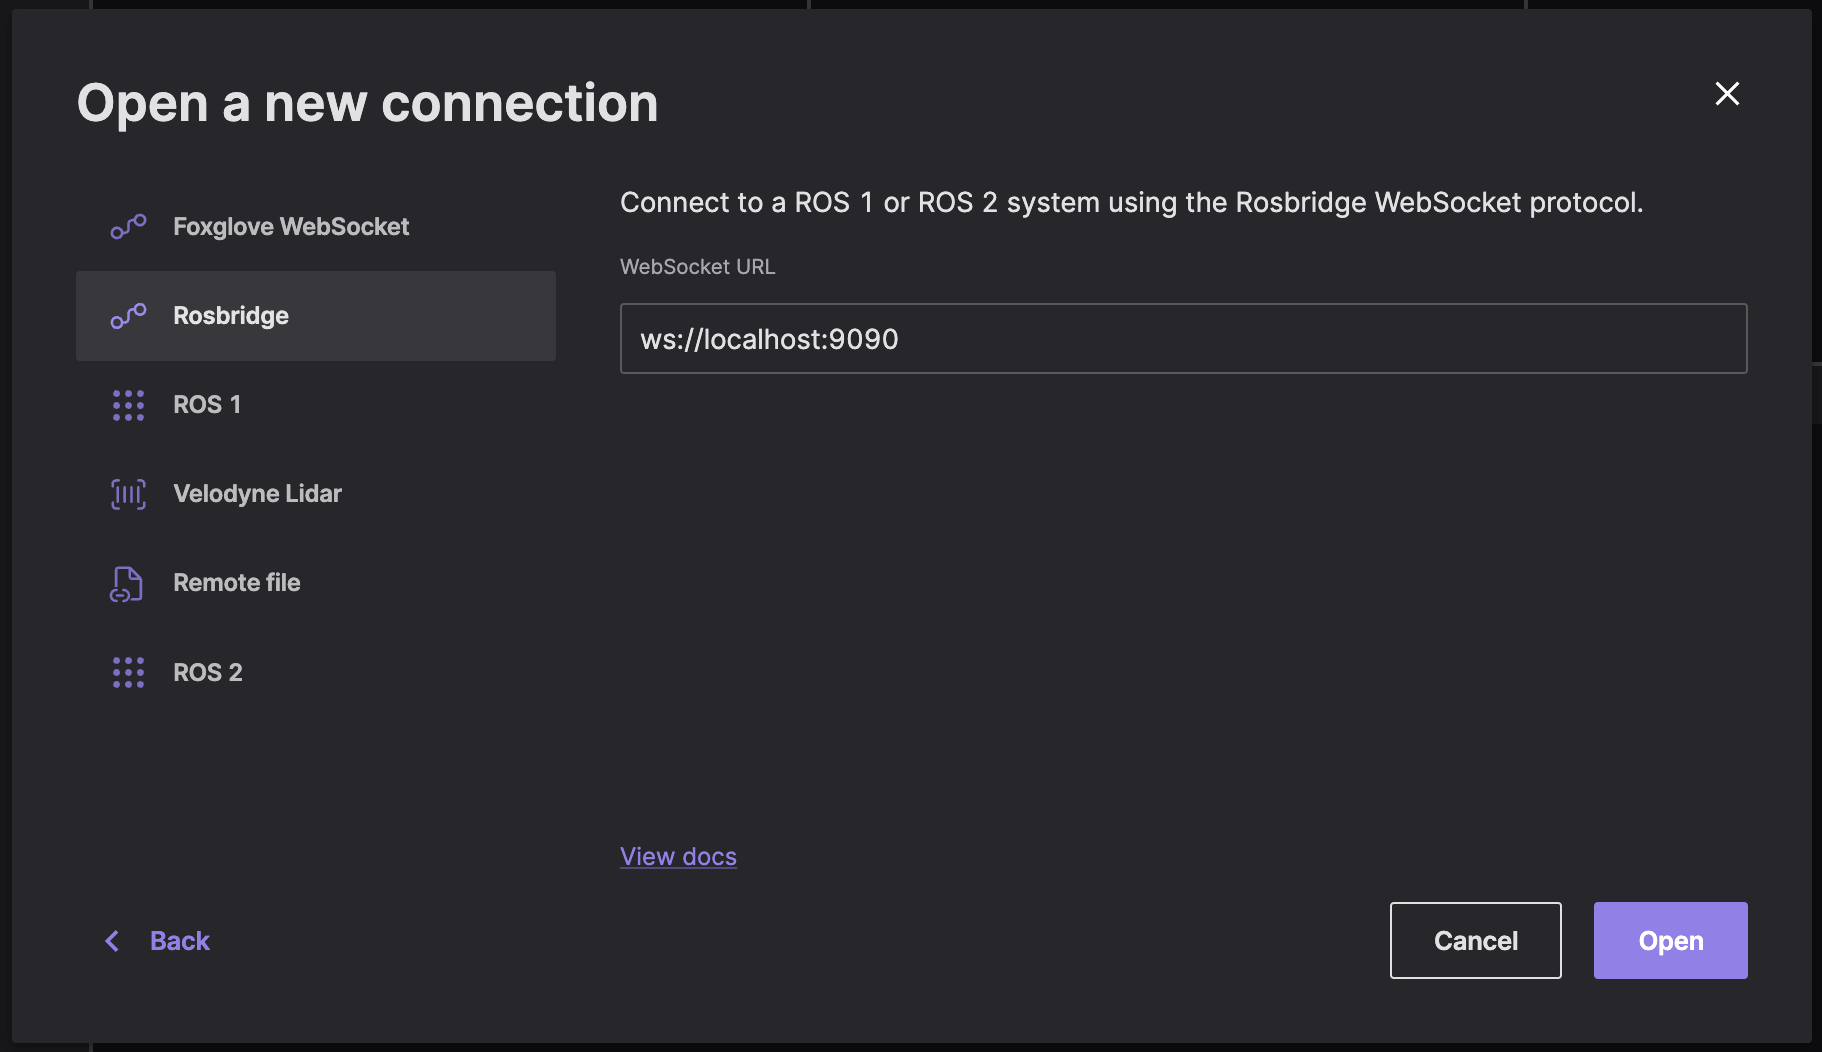
To test your connection, open the sidebar to verify that Foxglove is receiving your data source's topics.
Limitations
Rosbridge connections support publishing back to your ROS stack, but not reading or setting ROS parameters.
Native
Desktop app only
NOTE: Docker for Mac unfortunately does not expose all container ports to the macOS host, and so does not support bridge or host networking. When running ROS on a Mac, use the Foxglove WebSocket or the Rosbridge connection instead.
Connect directly to your running ROS stack via a native TCP (Transmission Control Protocol) connection to access your ROS master and/or nodes directly.
Once you have a working ROS 1 setup on your computer, run roscore in your terminal to start your ROS master.
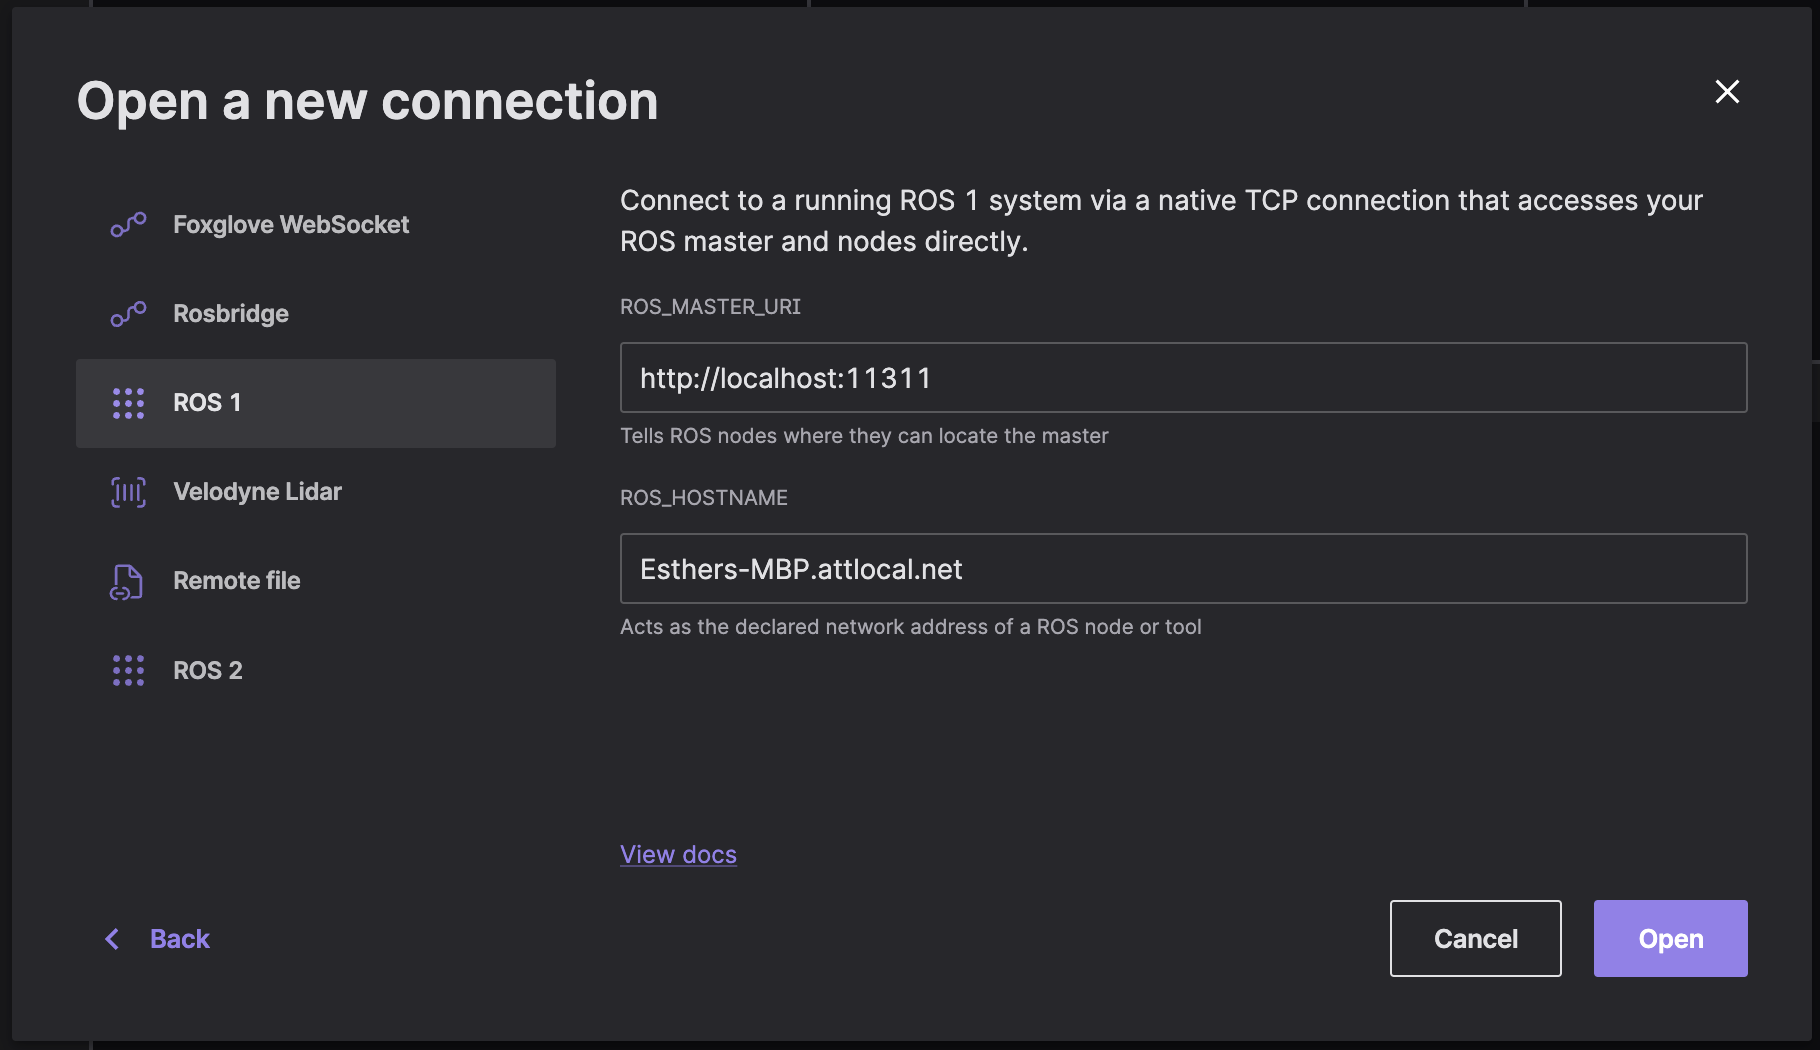
Select "ROS 1" in the "Open data source" dialog, and enter your ROS_MASTER_URI (ROS master's IP and port) and ROS_HOSTNAME:
If you're experiencing any issues, ensure you have unrestricted network connectivity between your ROS stack and Foxglove, as ROS uses multiple ports to communicate.
If you're running ROS and Foxglove on different machines see the ROS 1 Network Setup docs to make sure your environment is configured correctly.
Remote file
Select "Remote file" in the "Open data source" dialog, and enter the URL to your remote .bag file.
Check out the directions for setting up CORS to load remote data files into Foxglove.
Local data
To load a local file for visualization, you have several options:
- Double-click the file from your file manager
- Drag-and-drop the file into Foxglove directly
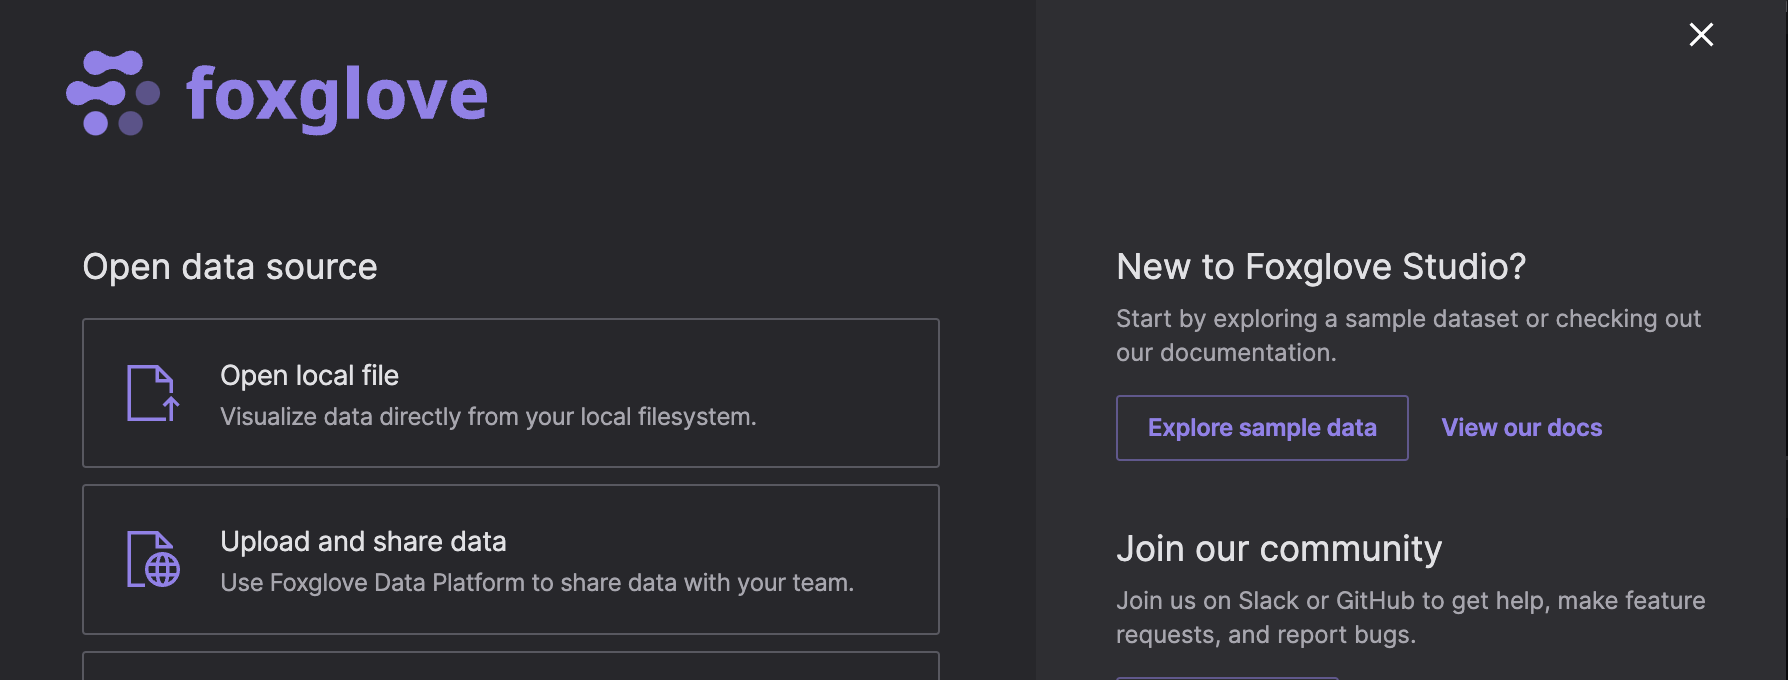
- "Open local file" in the "Open data source" dialog to select a file from your filesystem
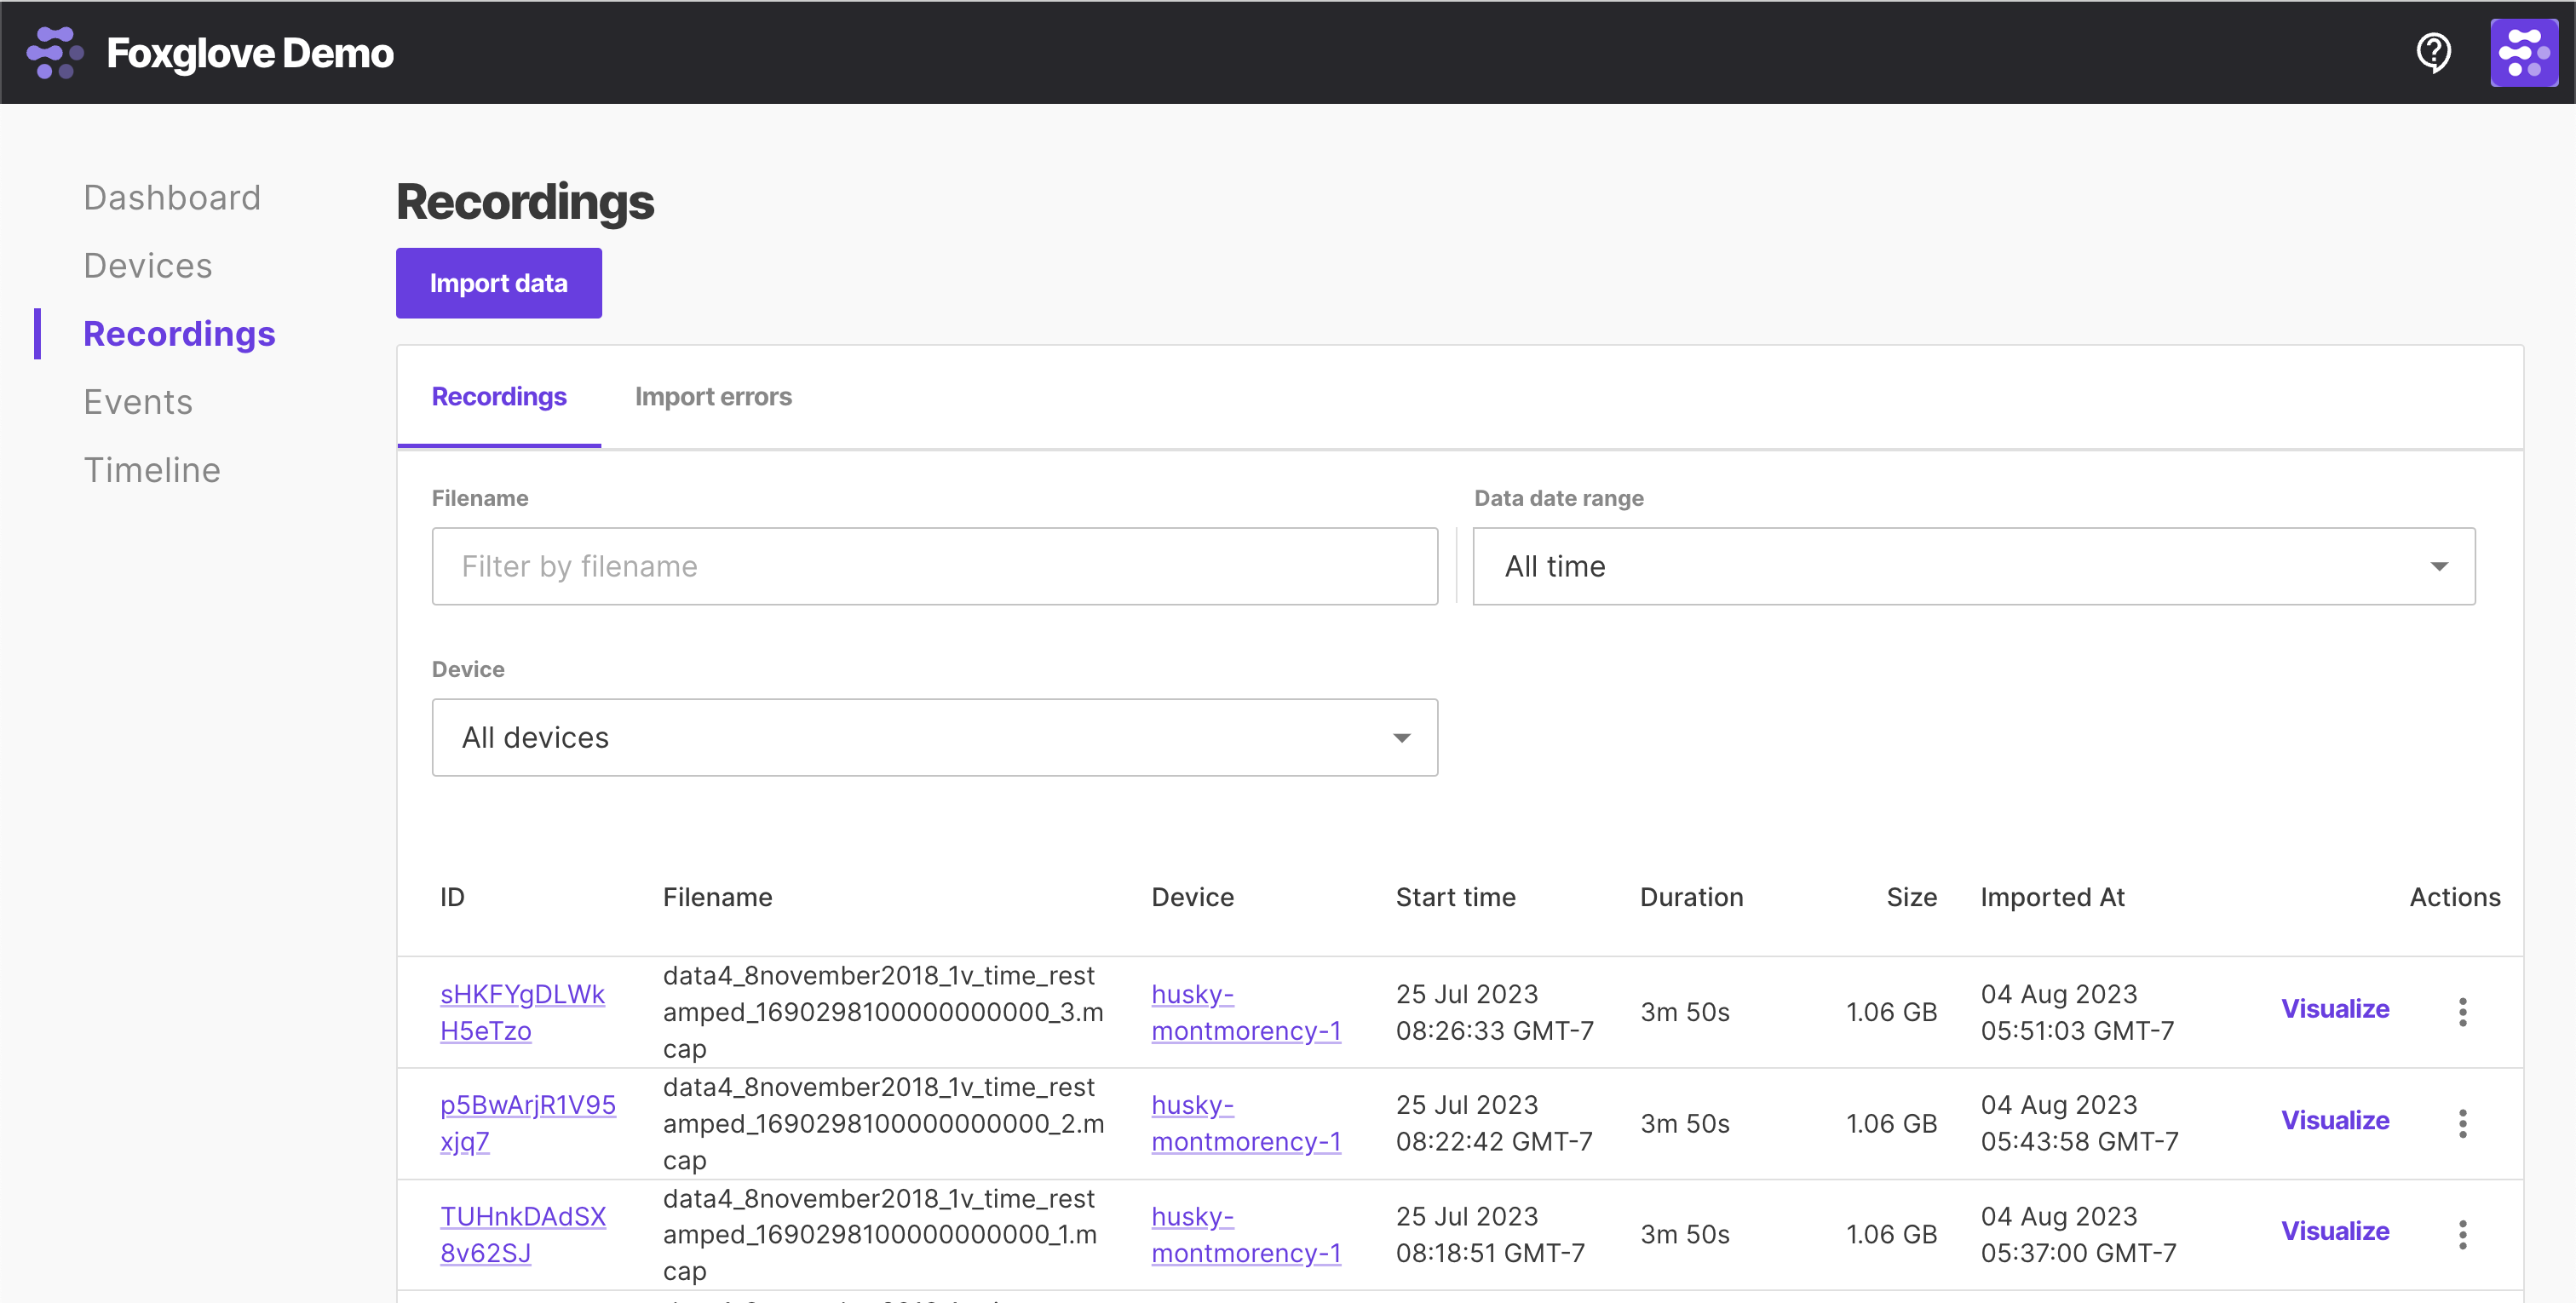
Imported data
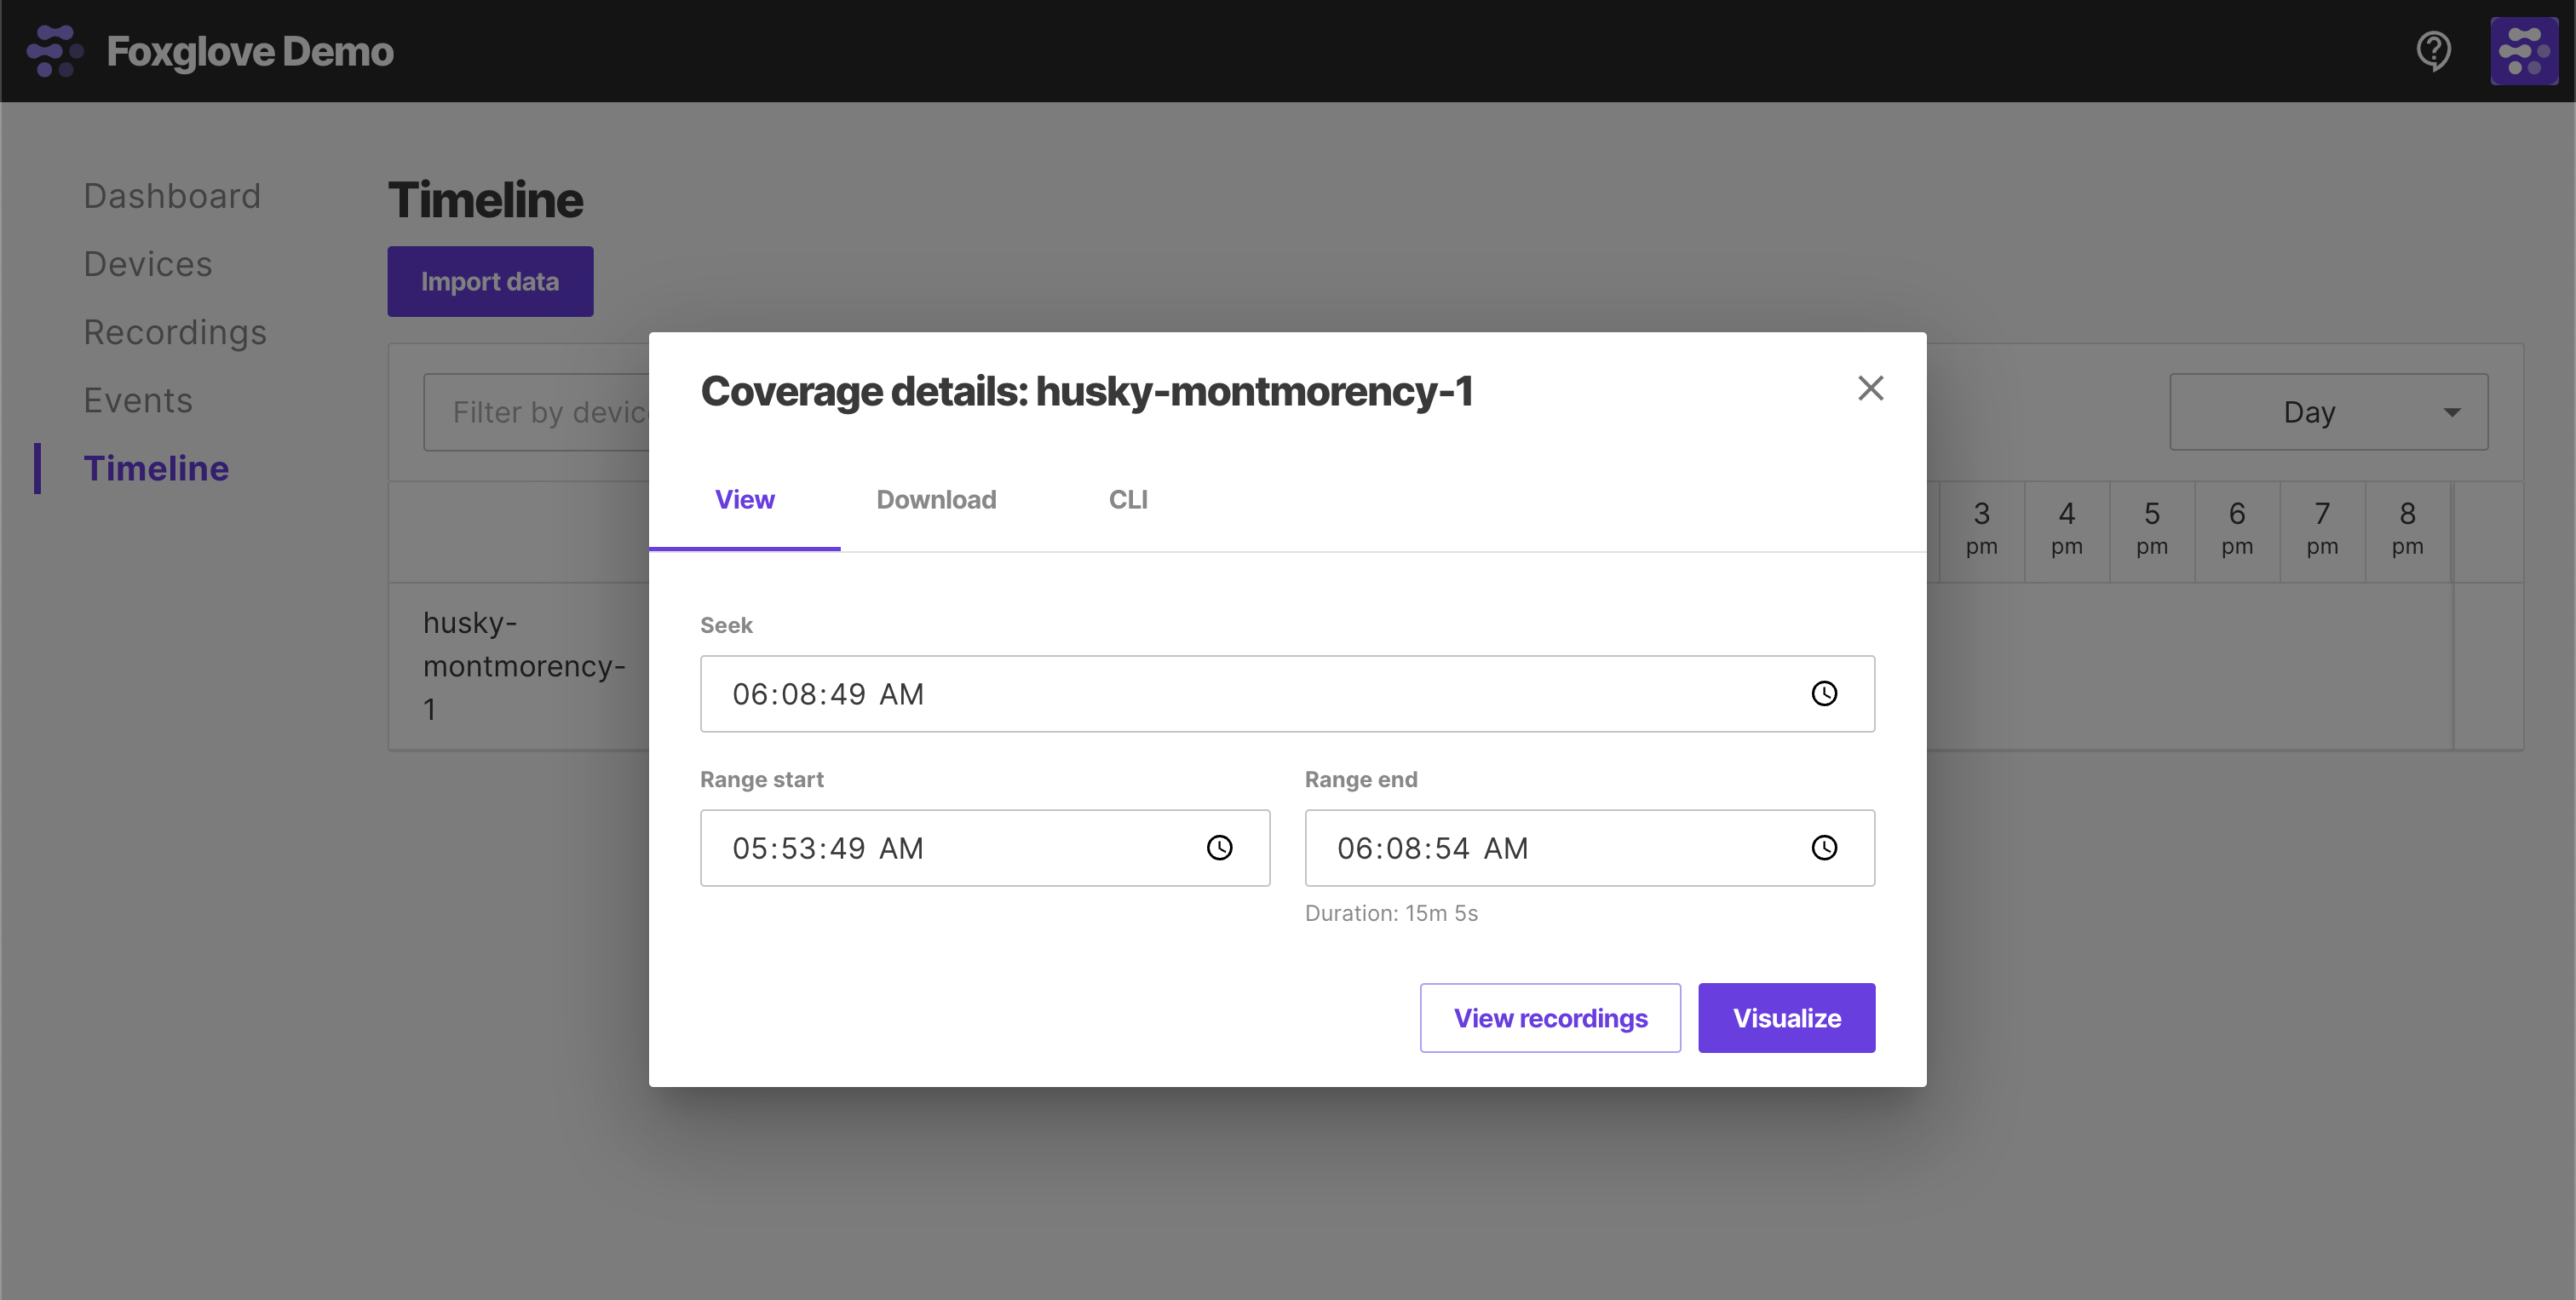
After importing data to Foxglove, select individual resources to "Visualize" on the Recordings or Events pages:
Select a custom time range of data (can span multiple recordings or events) to "Visualize" on the Timeline page:
