Okta SSO
Foxglove organizations can use Okta as authorization provider.
Create Okta application
Create a new app integration on your Okta dashboard:
- Sign-in method – OIDC - OpenID Connect
- Application type – Single-Page Application
- Grant type – Authorization code
- Sign-in redirect URI – In
https://app.foxglove.dev/{YOUR-FOXGLOVE-SLUG}/signinformat (findYOUR-FOXGLOVE-SLUGon the Settings page) - Sign-out redirect URI –
https://app.foxglove.dev/signin - Trusted Origins – Add
https://app.foxglove.dev - Access – Note that "Federation Broker Mode" is incompatible with Okta tiles
Enable Okta application tile
Optionally, you can enable Okta application tile sign in using these settings:
- Login initiated by – Either Okta or App
- Login flow – Redirect to app to initiate login (OIDC Compliant)
- Login URI – Same as the sign-in redirect URL in the previous step (
https://app.foxglove.dev/{YOUR-FOXGLOVE-SLUG}/signin) - Application visibility – Display application icon to users
This Foxglove logo works well as a custom tile icon.
Foxglove OIDC configuration
Configure application settings on the Okta SSO settings page:
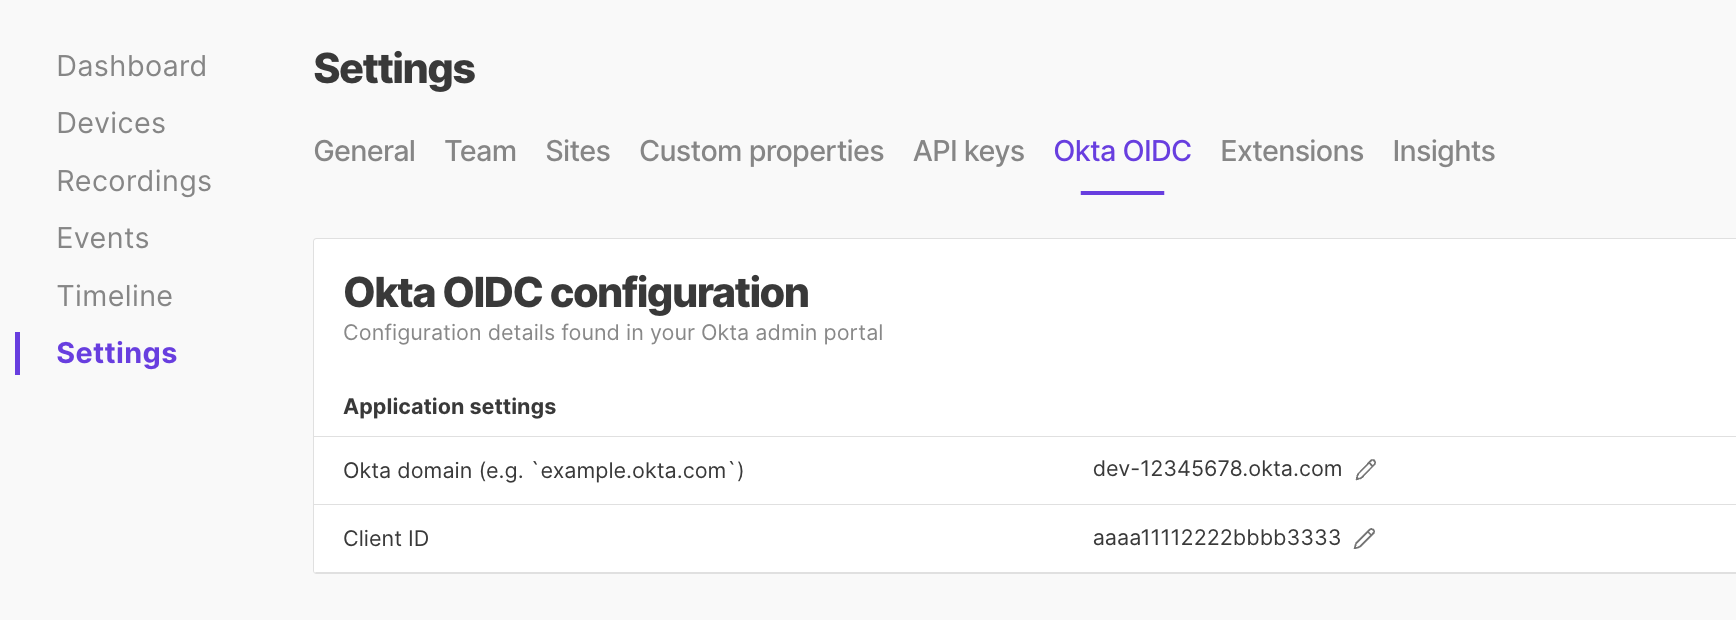
-
Okta domain – Find in the Okta dashboard's profile dropdown (
xxxxx.okta.com)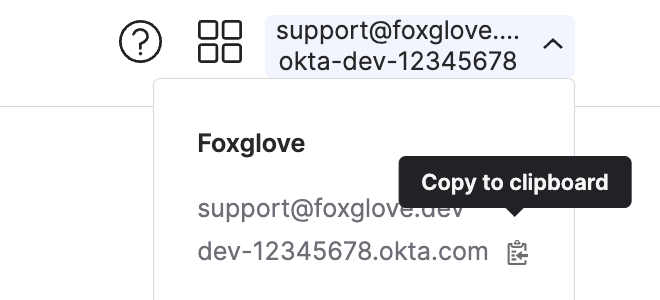
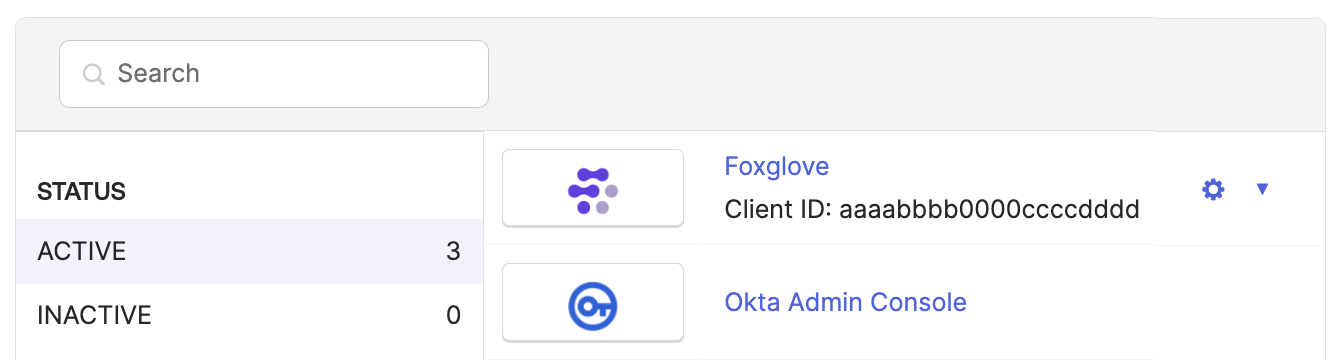
-
Client ID – Find in the Applications list, below the app name
(Optional) Disable non-Okta sign in
Confirm that your Okta SSO setup works by signing out and signing back in with Okta SSO.
Use the SSO settings tab to disable or re-enable all other authentication methods.
Manage members
-
Provision members – Any Okta user with access to the Foxglove Okta application can sign in. A new Foxglove account is automatically created on first sign in.
-
Remove users – Revoke the user's access in Okta, then remove the associated user on Foxglove's Team settings page to sign them out of Foxglove immediately. If non-Okta sign in methods are enabled for your account, emails matching your approved domains can always sign up.